Give your smart lights a physical control people can find
Plan the location and everyday actions of a wireless button before adding complex routines or another app.
Updated:
Start with the person using the light
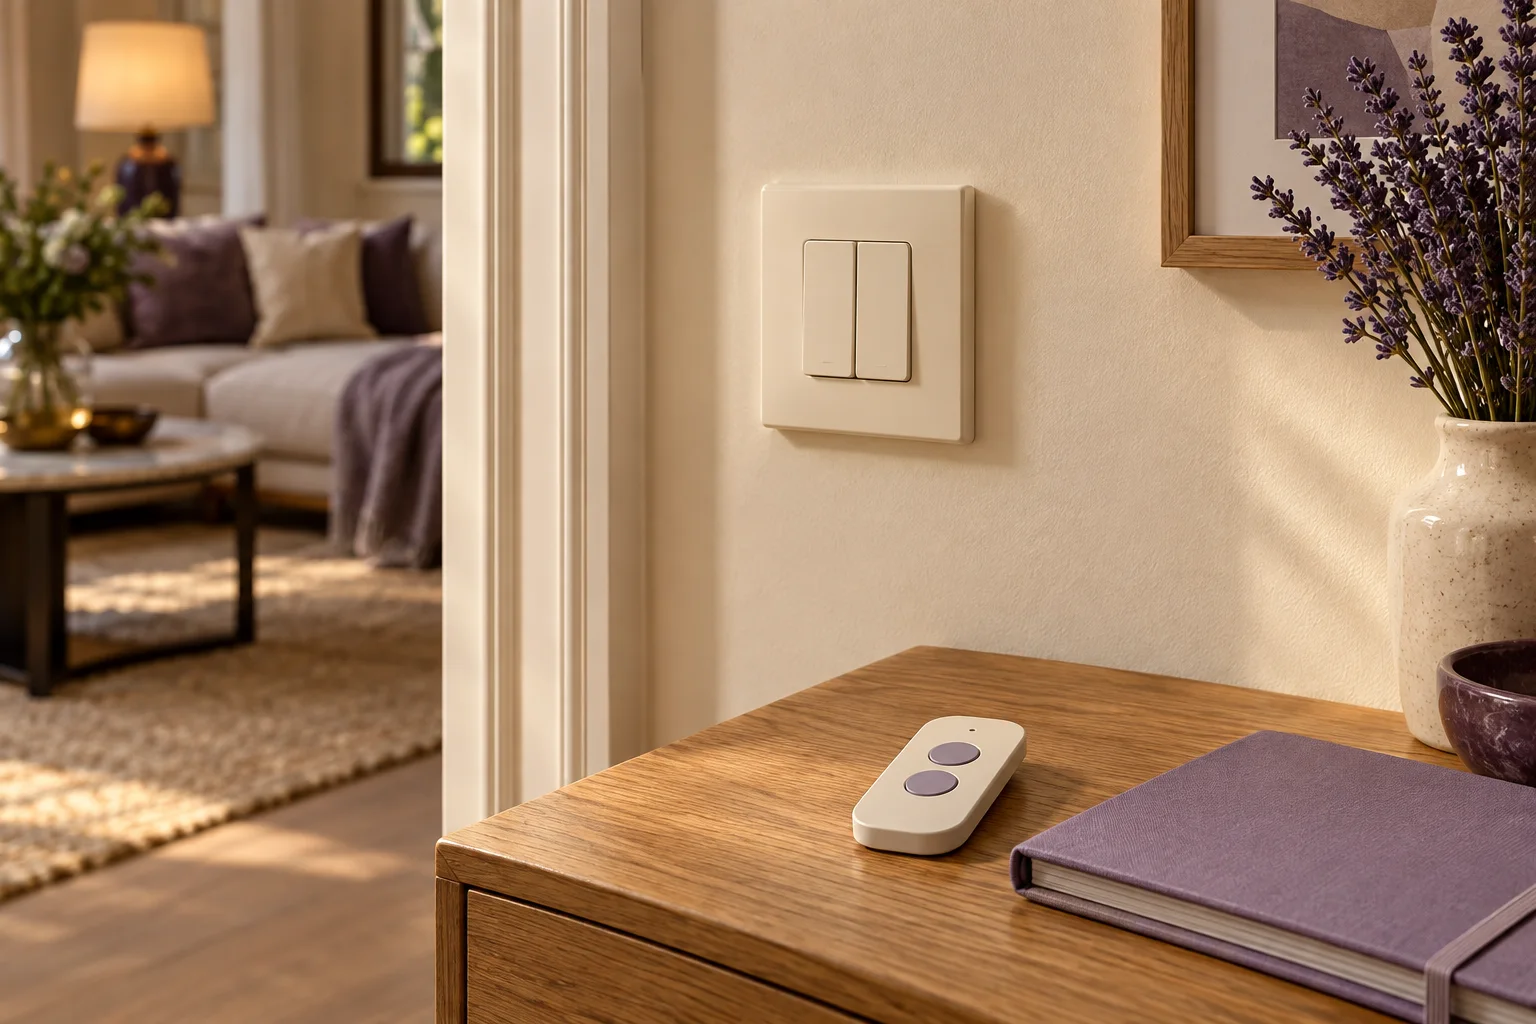
A physical control is useful when its purpose is clear and it is where someone expects to find it. Philips Hue's wireless dimmer page describes a battery-powered control that can be mounted or used as a handheld remote. That is a different purchase from replacing a mains-wired wall switch. Decide which kind of intervention you actually need.
Write the essential actions in ordinary language: turn this lamp on, make it less bright, or turn the room off. Avoid starting with every programmable gesture the product might offer. A guest or another household member should not need to memorise your entire automation plan to use a light comfortably.
Philips Hue UK: wireless dimmer switch ?
Map actions before assigning buttons
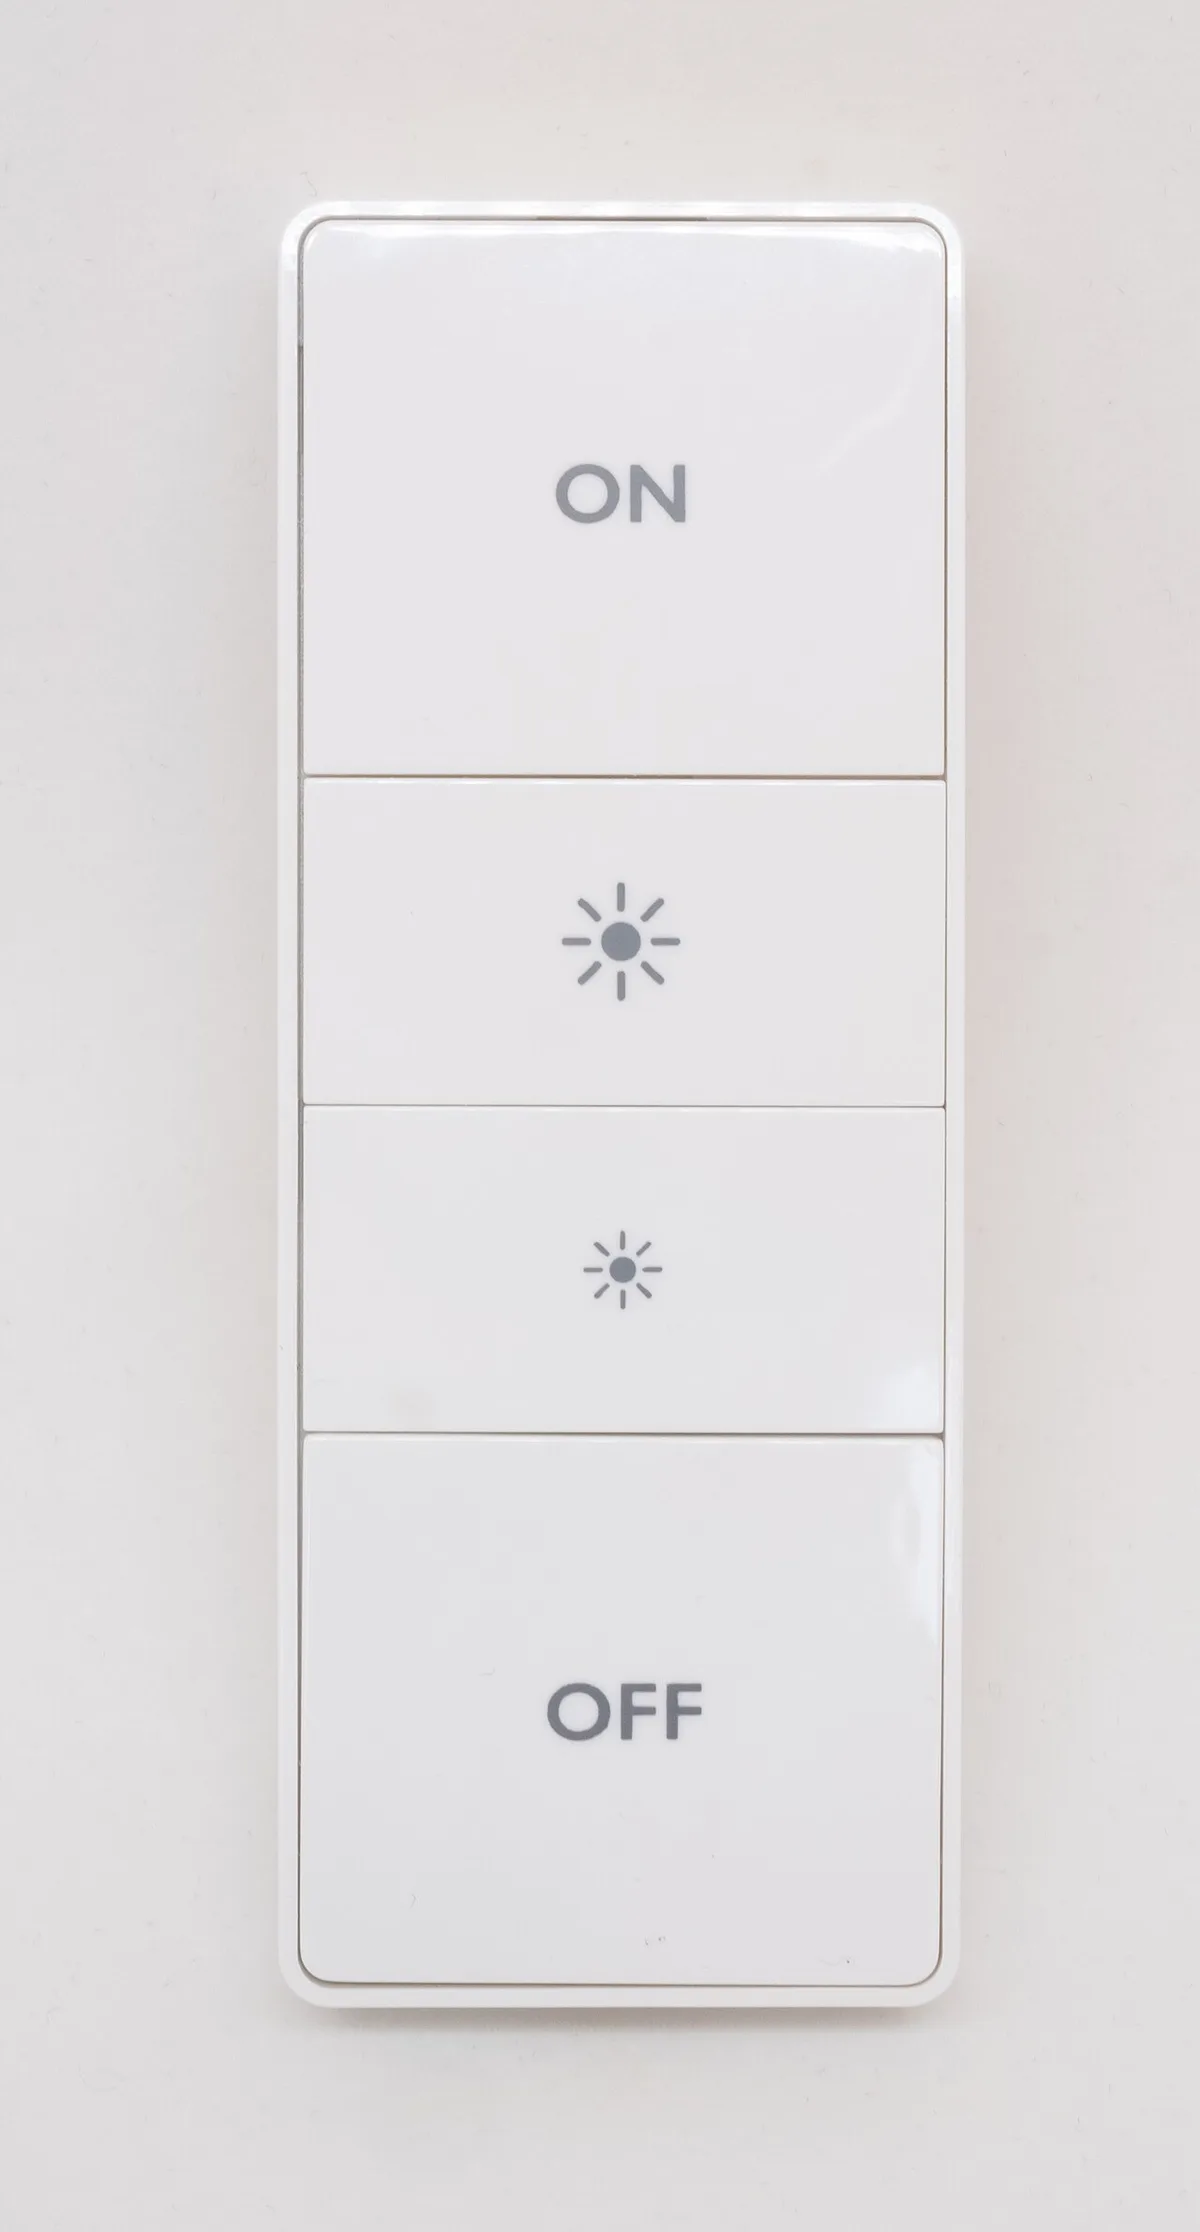
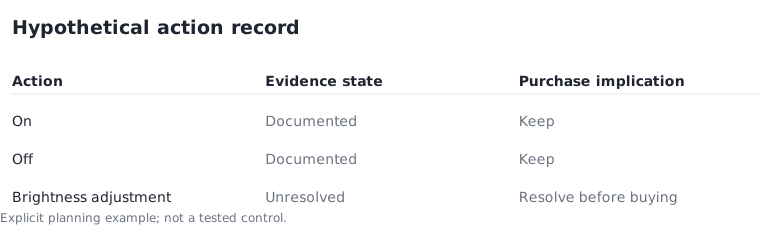
For a hypothetical reading corner, define three essential actions: on, off and brightness adjustment. Then record how the chosen control performs each action under the supported setup. The number of visible buttons is not necessarily the number of configurable actions, and different models can assign functions differently. Use the exact product instructions rather than the photograph.
If two of the three actions are documented and the third remains unclear, your action record is 2 of 3 complete. Do not fill the remaining space with an assumed long press or double tap. The useful next step is to find the supported behaviour, or choose a simpler action set that the documentation actually covers.
Choose a home for the remote
A removable remote can be convenient, but it also needs a predictable place to return to. Compare a fixed mounting position with a dedicated tabletop location in the context of how the room is used. Check the manufacturer's mounting instructions and surface requirements before committing to a permanent position.
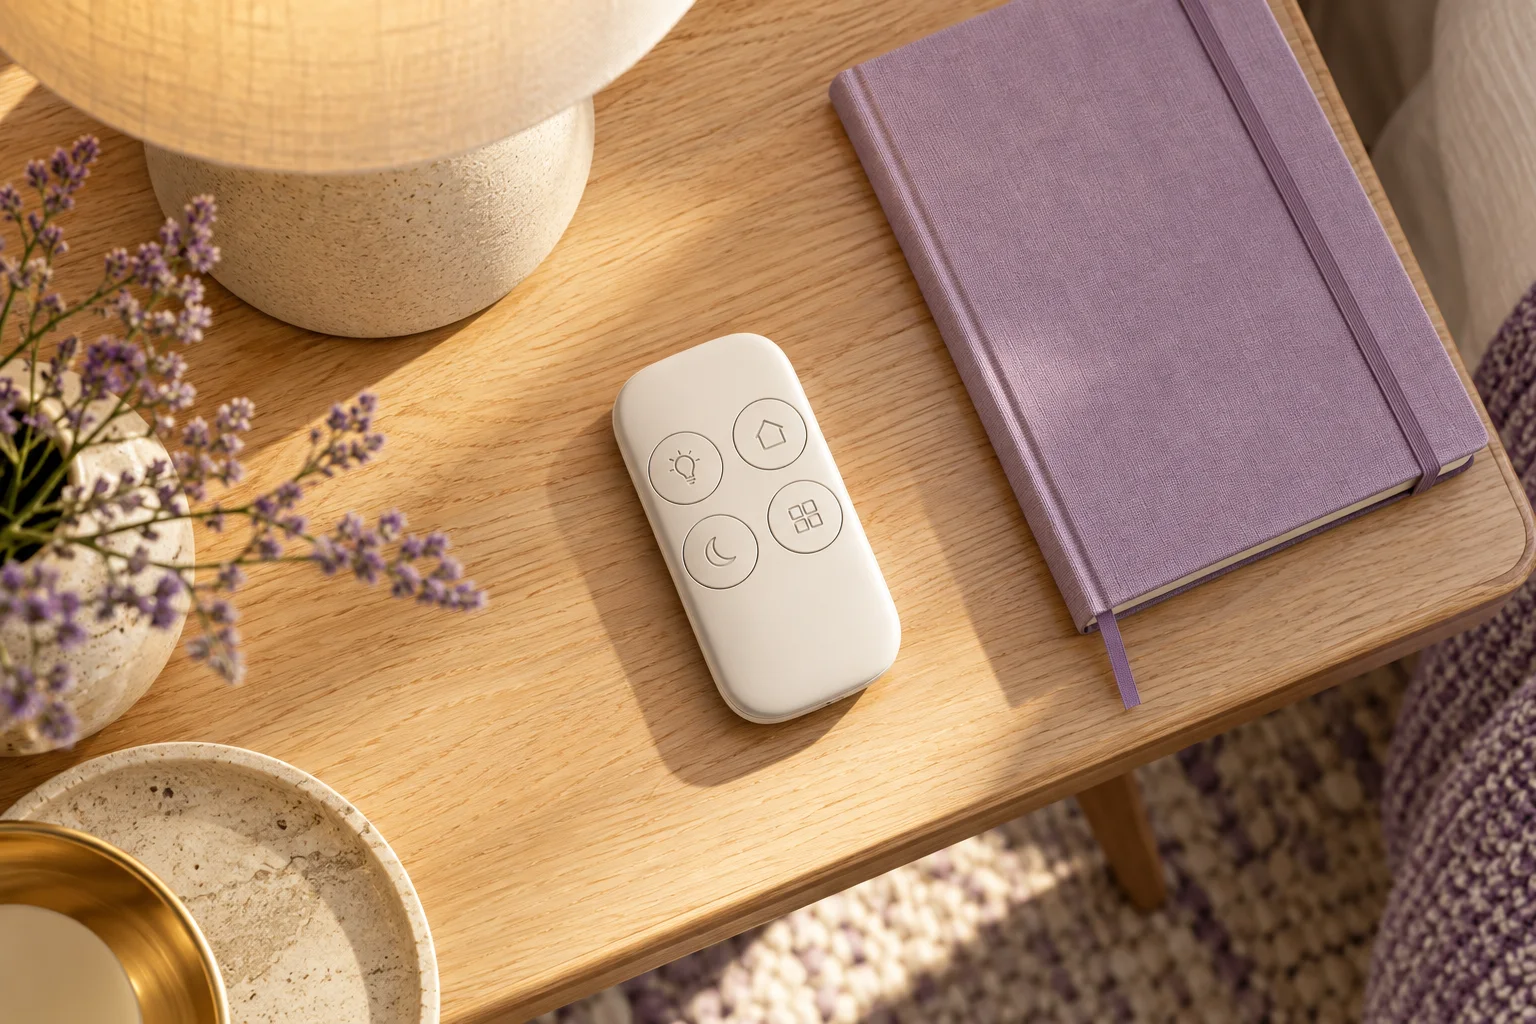
The historical four-button dimmer photograph shows a clear physical interface, not the configuration of a current model. Its layout can help explain why tactile controls differ from app menus. It does not tell you the current battery type, supported platform or programmable functions. Keep those facts in the model record instead of copying them from a similar-looking device.
Budget for the control locations you need
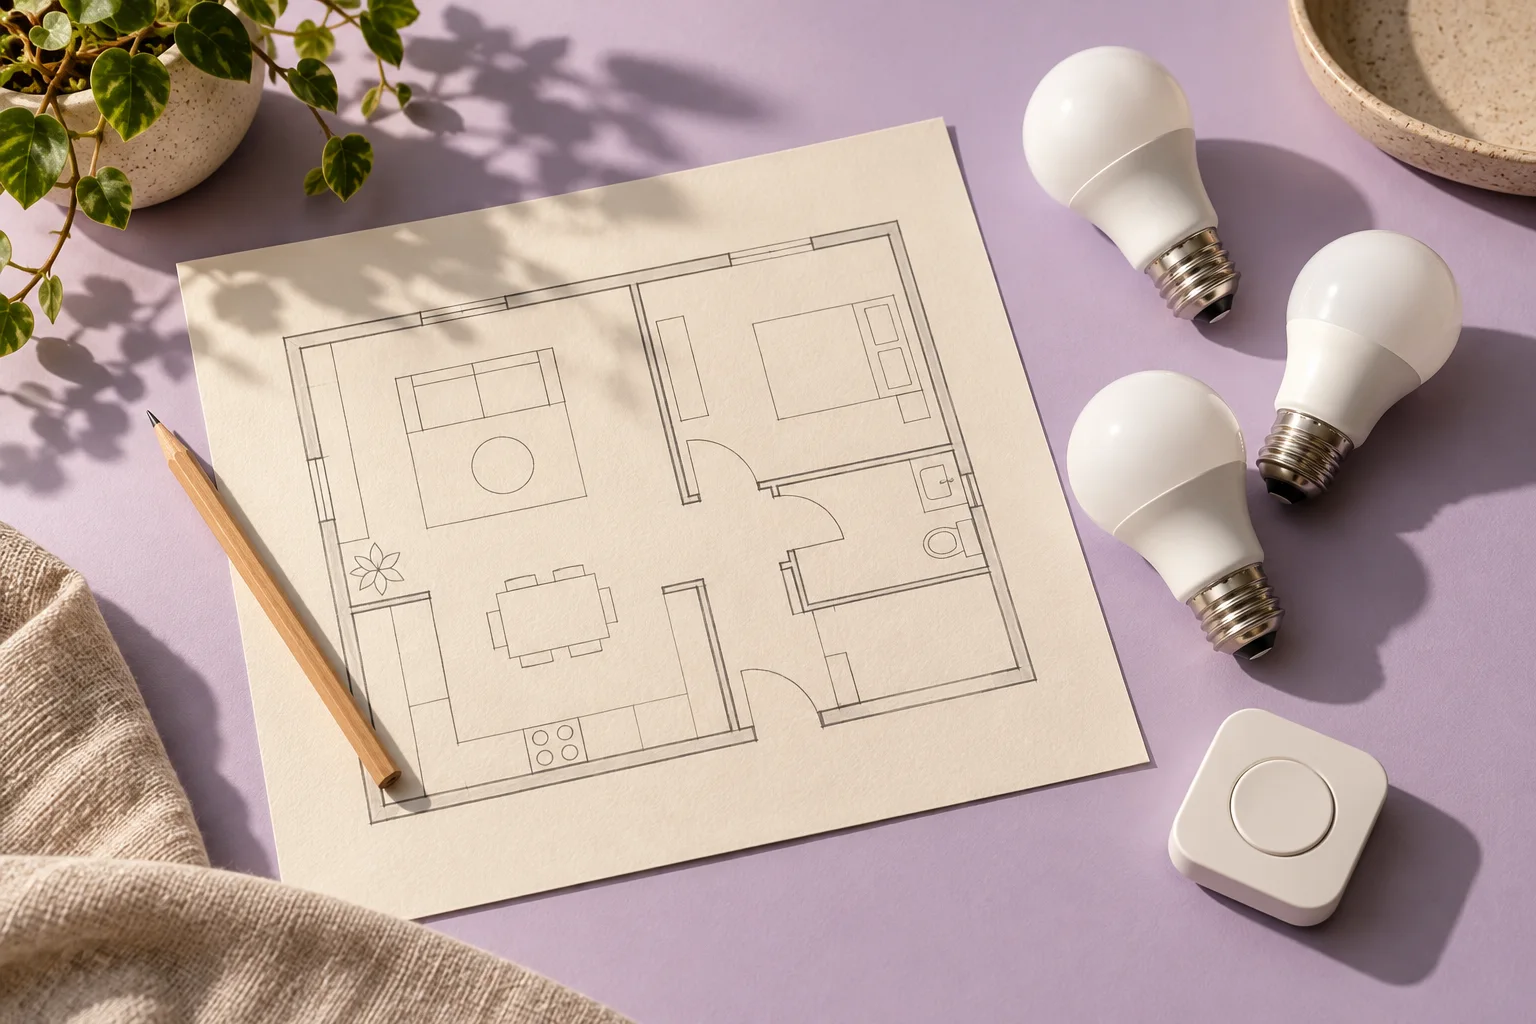
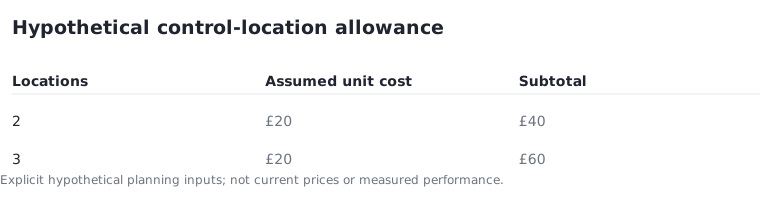
Suppose an illustrative room plan needs two control locations, with an assumed £20 allowance for each wireless control. The control subtotal is 2 × £20 = £40. Adding a third location at the same assumed amount makes £60. These are planning figures, not present retail prices or a claim that three controls will work with a particular system.
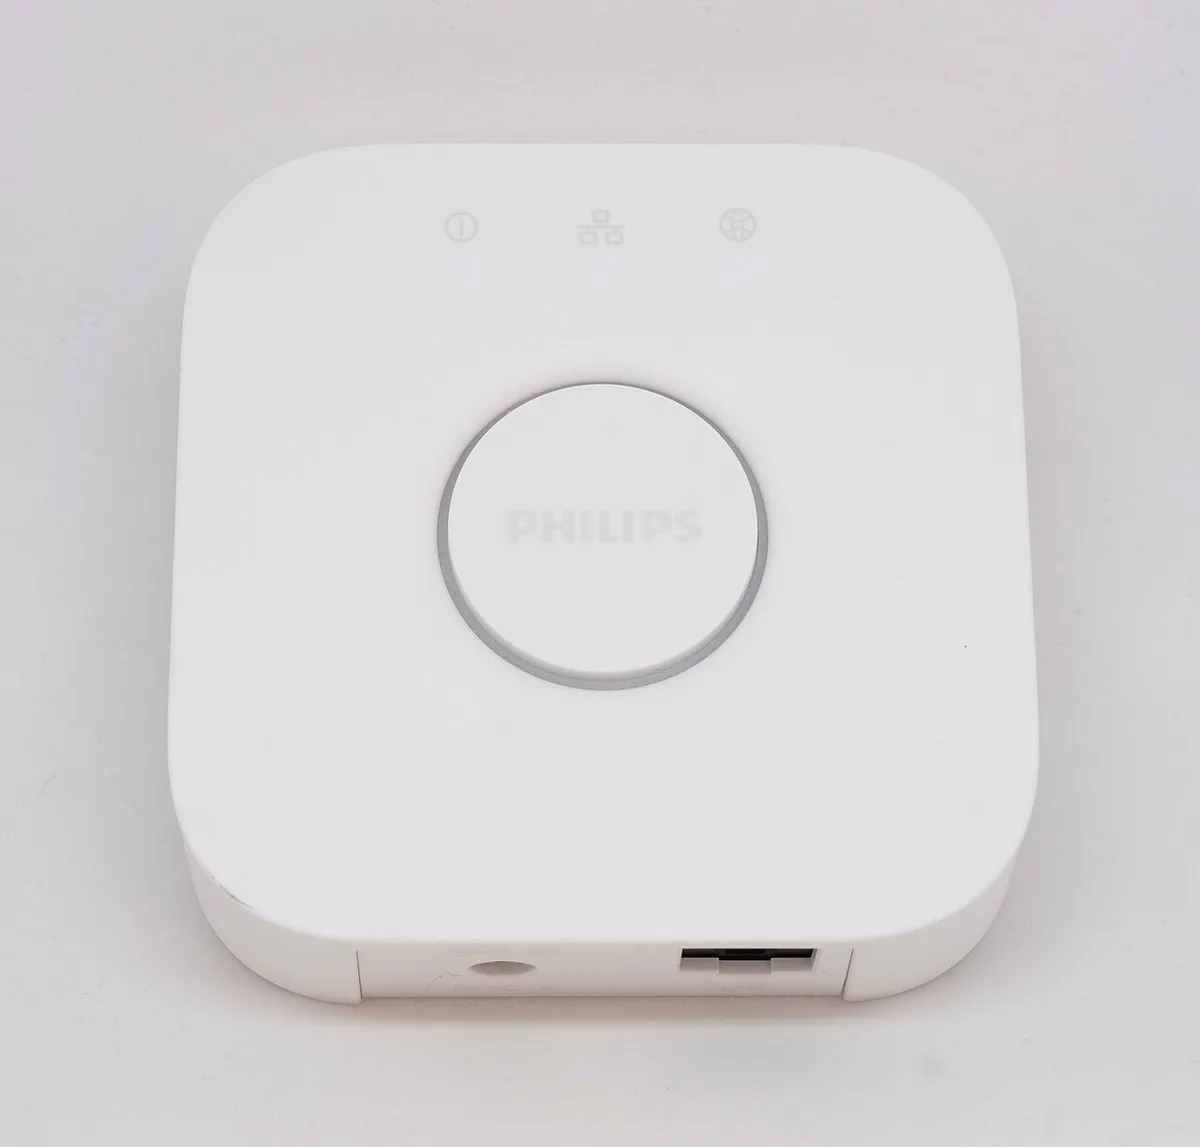
The additional location should have a defined purpose, such as access from a second entrance. If it only duplicates a nearby control without improving the room's use, leave it out of the first plan. Include any separately required hub or mounting accessory in the complete budget, and avoid counting included components twice.
Test the everyday path before adding complexity
After setting up according to the manufacturer's instructions, try the essential actions from the intended location. Ask another person who will use the room to follow the same simple task. Record confusion, missing actions and inconvenient placement as things to revise. This is a suggested personal acceptance exercise, not a test result reported by this site.
If the button depends on a chosen platform, establish that platform's supported device and feature requirements as well. A physical control should make the room easier to use, not hide an unresolved connection. Keep the first action map small, save the supported setup instructions and expand only when the ordinary on-and-off path remains clear.
Google Home: preparing for Matter ?